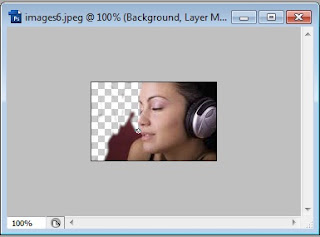
In this tutorial we will work with one of the amusing tool of Photoshop- “Mask Tool”. You can do various professional works with this tool. Consider it as the first lesson of “Mask Tool.
1. Open the image file in Photoshop.
2. Select the image layer and click on the rectangle (layer mask tool) which is at the bottom of the Layers Palette.
Now you will find some changes like bellow:
First, the foreground and background colors in the tool bar on the left turn to black and white. Second, a small white rectangle will appear next to the thumbnail of the image in the Layers Palette, and third, a gray square with a white circle will be placed to the left of the thumbnail of the image in the Layers Palette.
3. Click directly on the rectangle (layer mask) which is next to the thumbnail of the image. This will insure that you are now working on the layer mask.
4. Now use the brush tool, using a hard edged brush, with black as the foreground color. Remember, when foreground color is black, it removes and when white it replaces.
5. Now, start brushing on the background of the image to remove background. If you accidentally remove any part, just stop there. Select the foreground color to white and start brush on the missing area to replace those parts. Always think about the size of your brush to maintain accuracy.
6. Once you've replaced those missing parts switch back to the black foreground and continue brushing until you have removed all of the background from the image.
7. Now save the image. You will find that the background of the image is removed.


0 comments:
Post a Comment
Please Leave Your Comments Below: